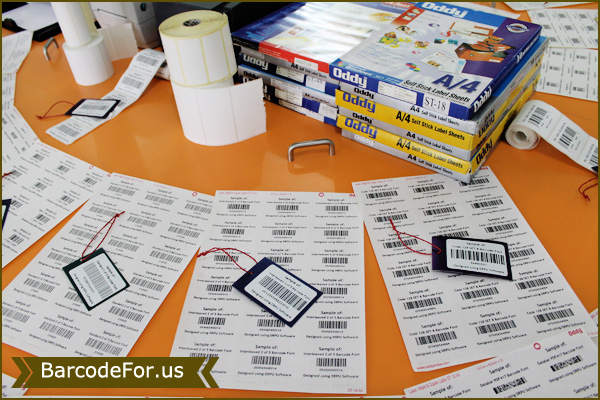
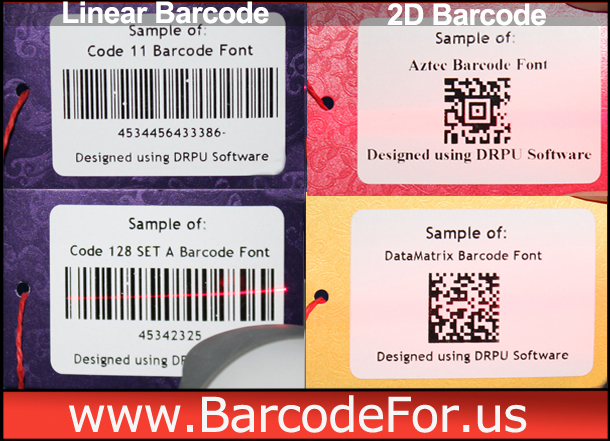
MICR font is 2D barcode symbology that is useful in post office and banks industry for generating barcode labels. Barcode Generator for Post Office provides different types of linear and 2D barcode font symbologies to create barcode labels as per industrial requirement. Barcode maker software provides advance Batch Processing Series feature to generate multiple copies of barcode labels with different barcode value, barcode header and footer text value. Barcode generator application provides highly interactive graphical user interface to easily operate by any user without technical support.
Salient features of Barcode Generator for Post Office:
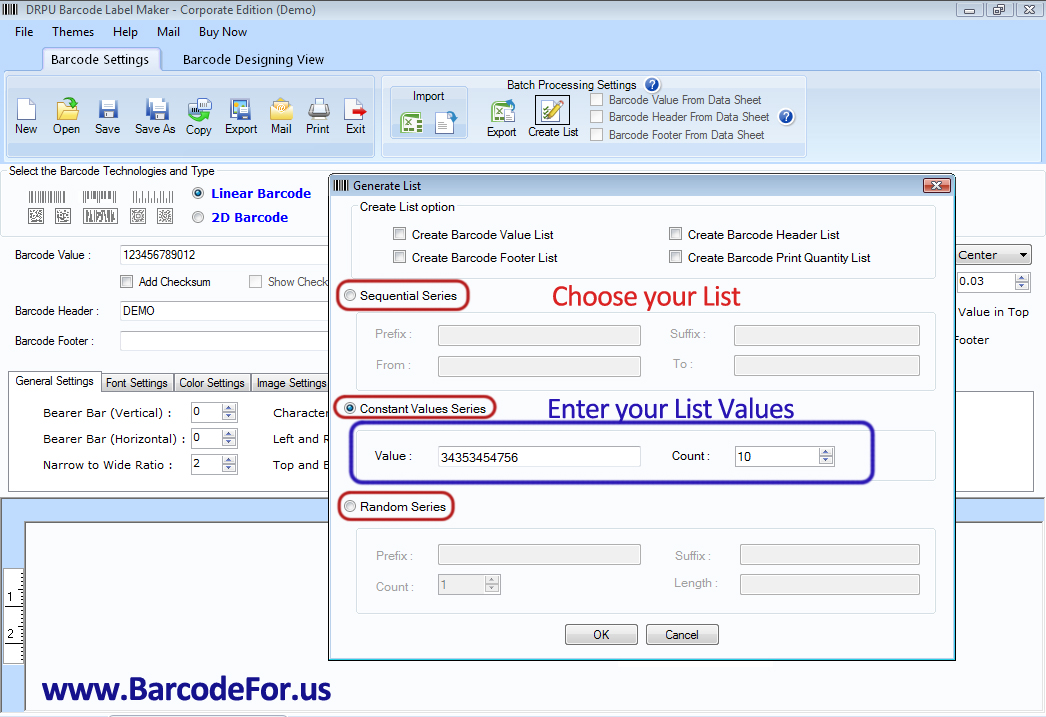
- Provide facility to generate barcode list using sequential, constant or random value series.
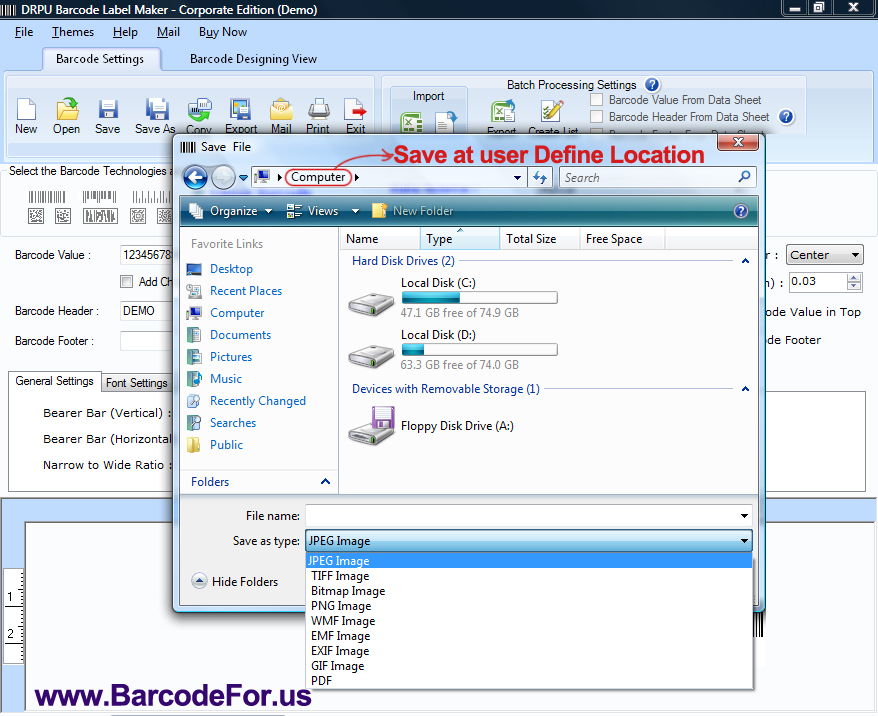
- Software enables user to save generated barcode in different file formats.
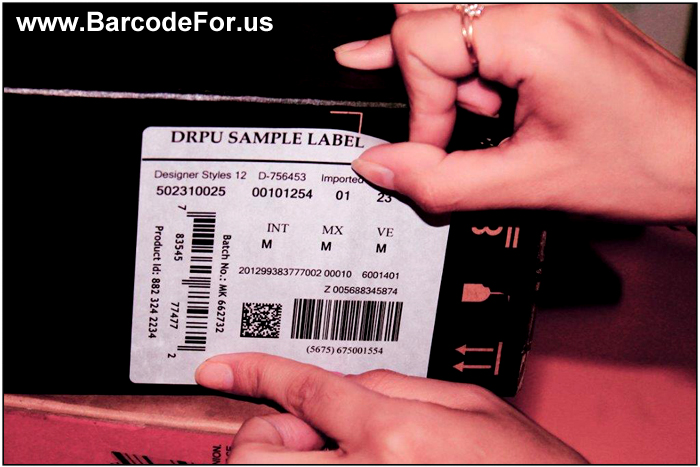
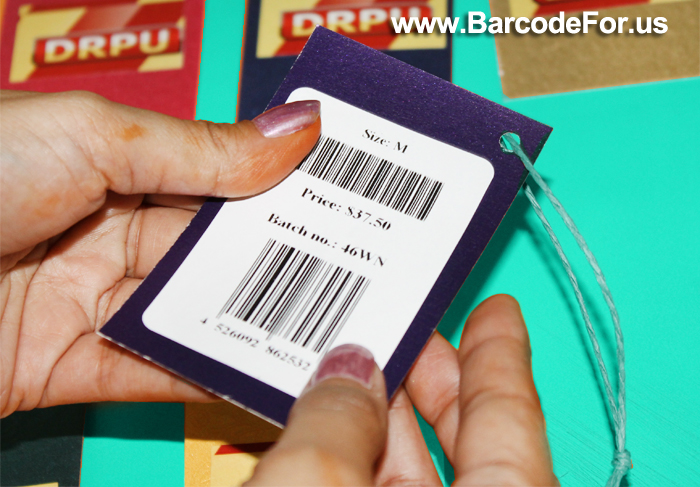
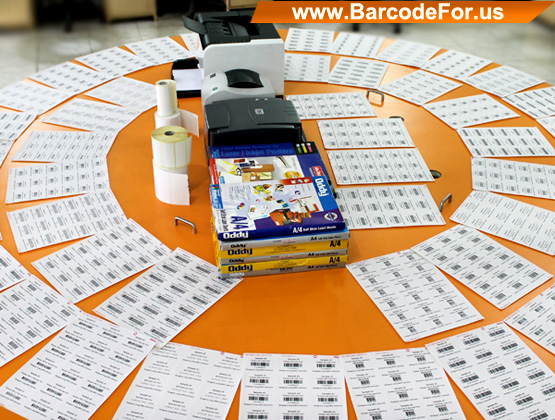
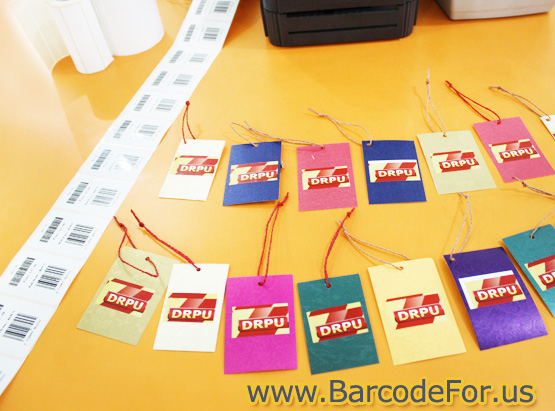
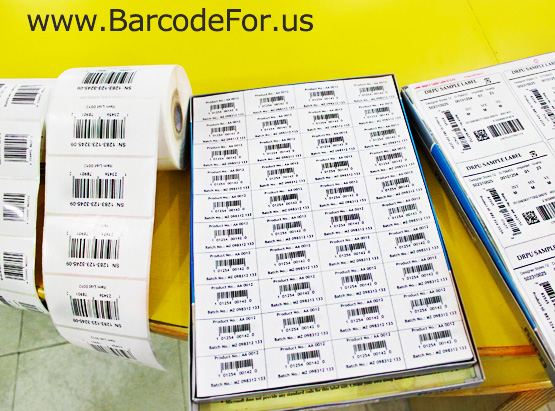
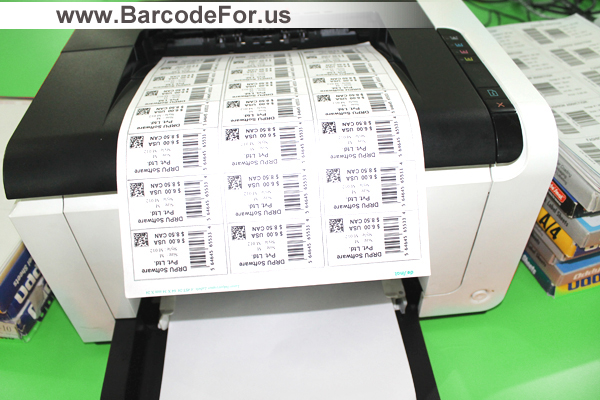
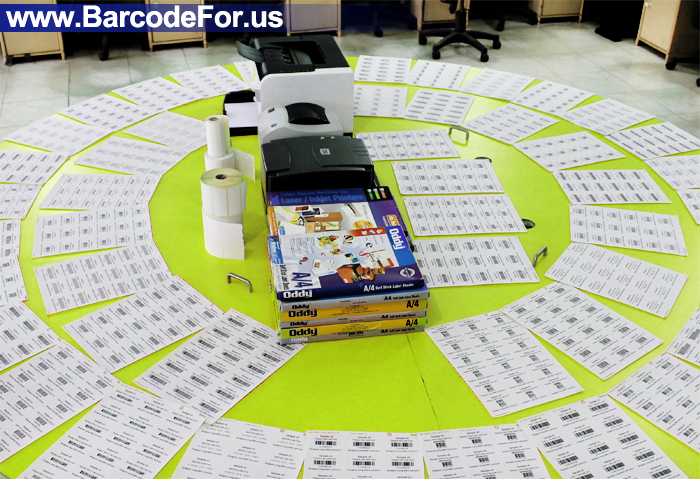
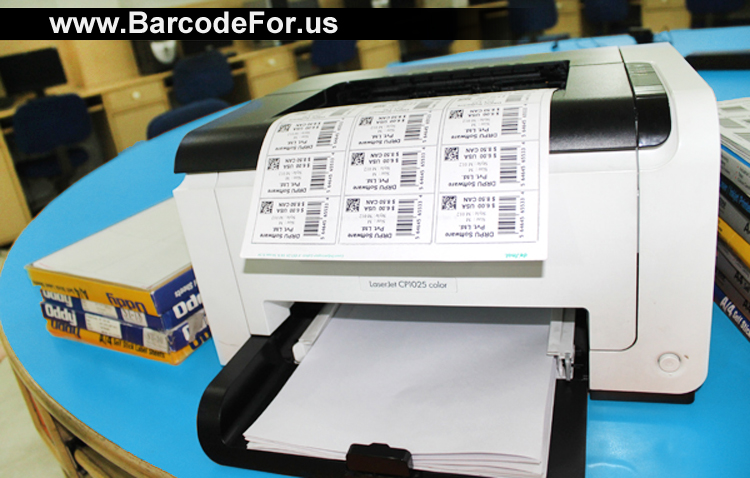
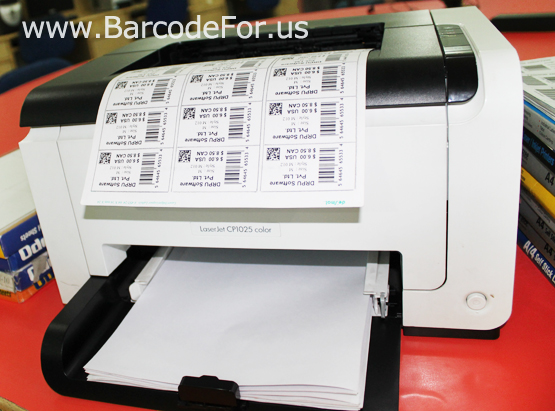
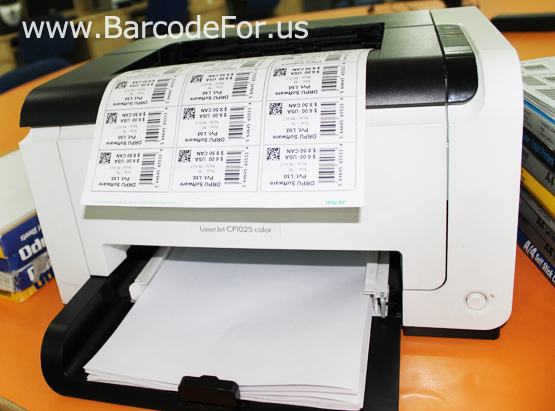
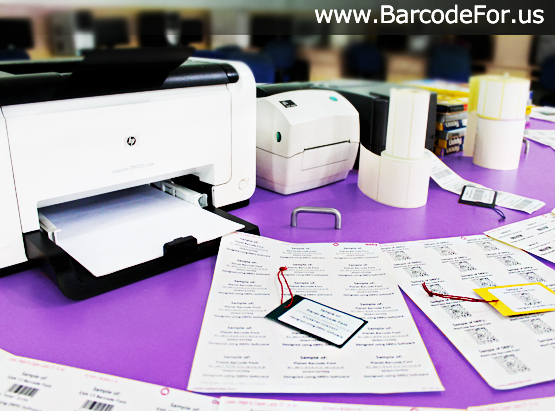
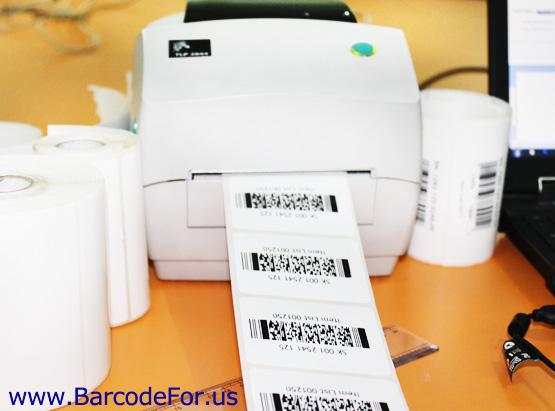
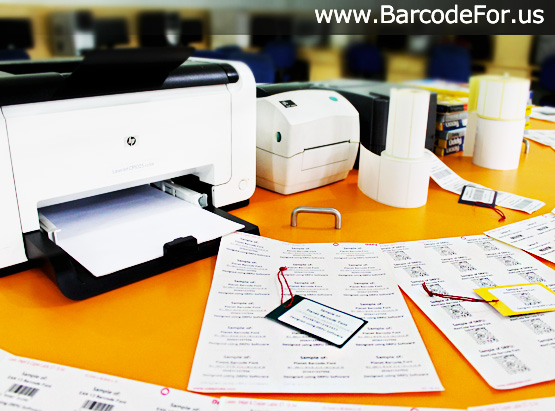
- Facilitate to print barcode labels on different types of barcode sheets and rolls using flexible printing setting.
- Create log file to save, import and export generated barcode label for future reference.
- Provide option to copy barcode label in clipboard and paste in MS-Paint, MS-Excel, MS-Word etc.
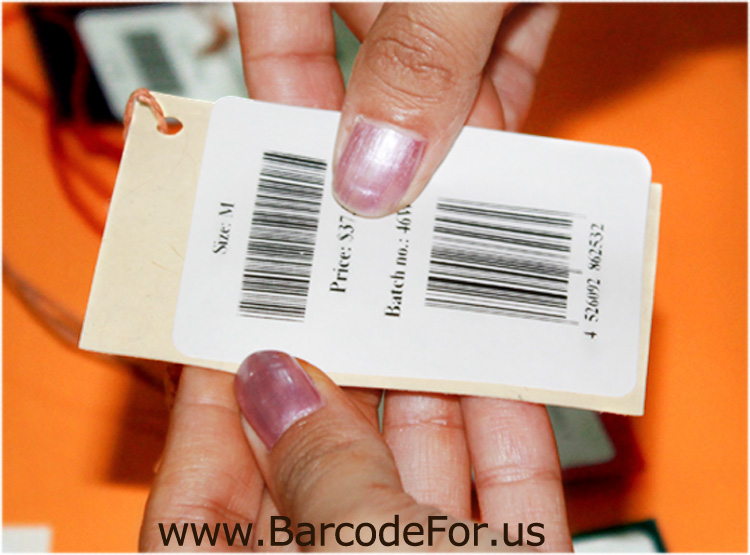
- Allow user to design barcode label with different shape, size and various drawing tools.
Watch this video to learn how to generate MICR font barcode labels in post office and banks using barcode software
Process to generate MICR font barcode labels in post office and banks using barcode software
Step 1: Install Barcode Label Maker Software on your Windows PC or Laptop.
Download Barcode Generator for Post Office

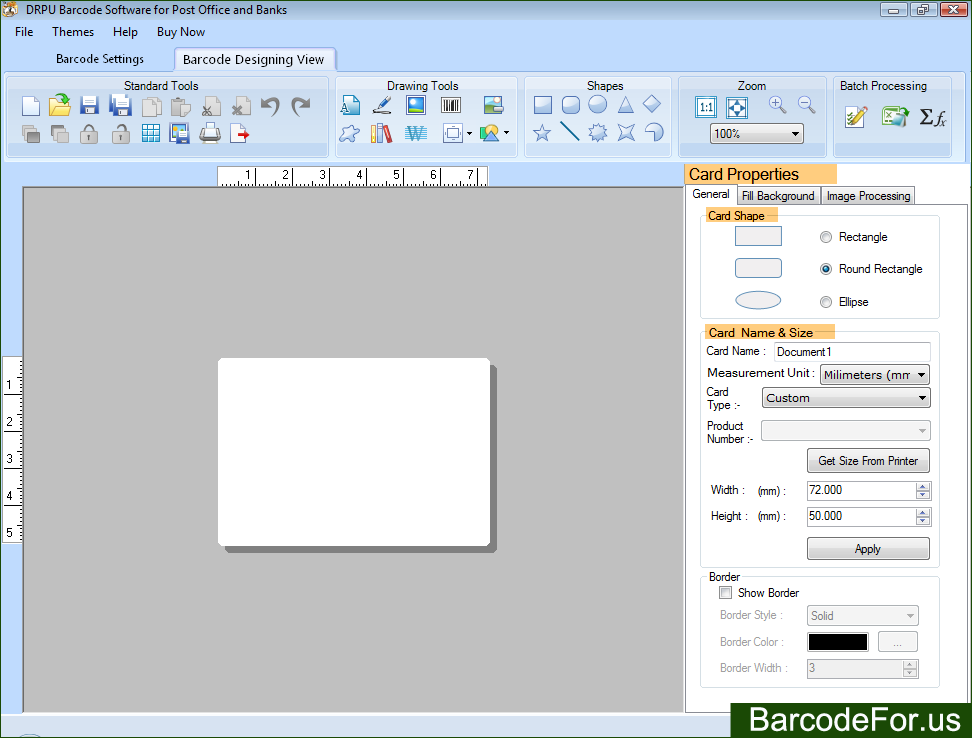
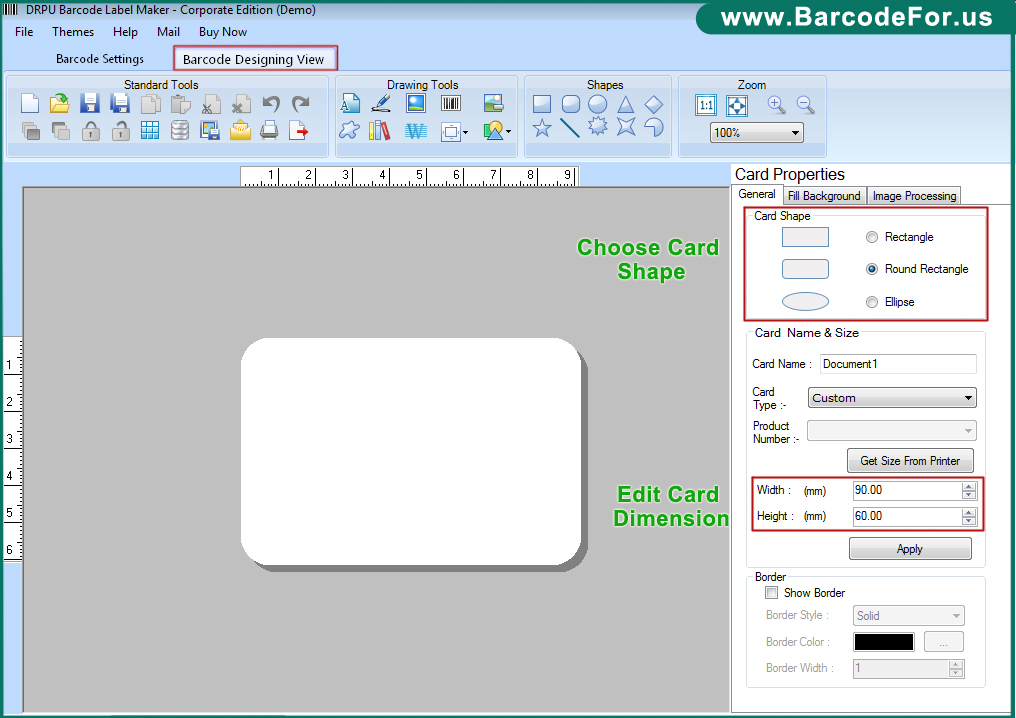
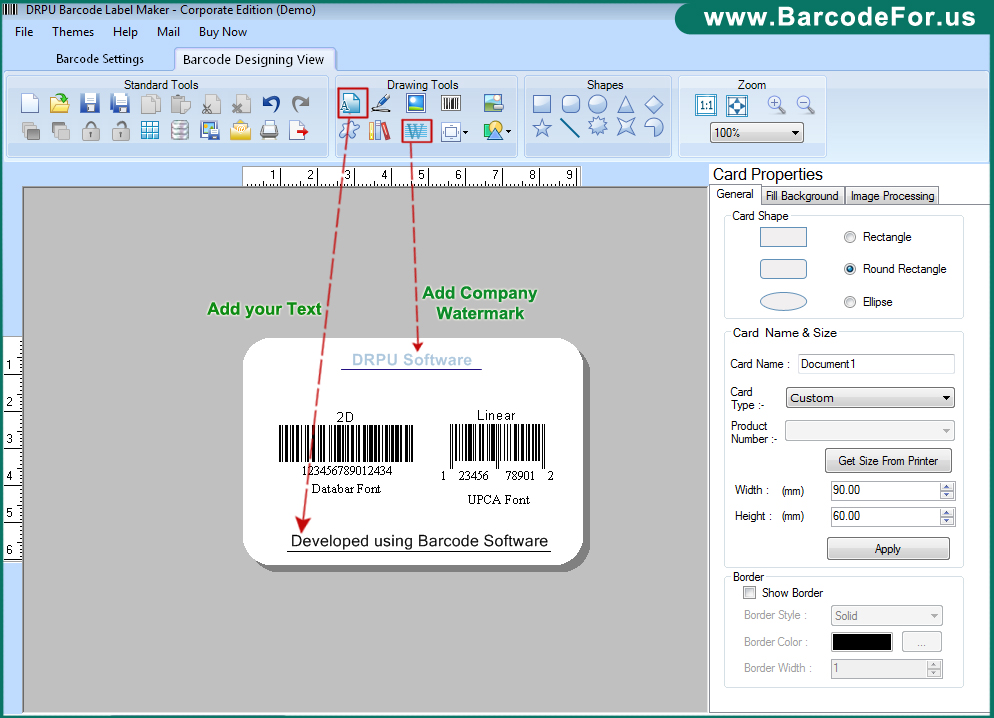
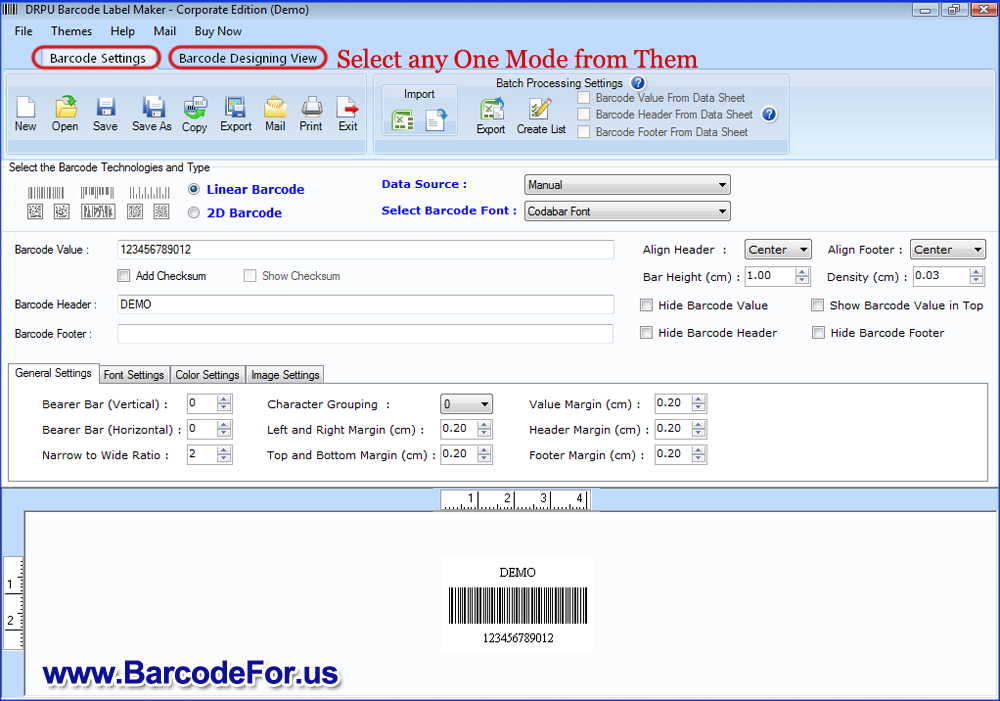
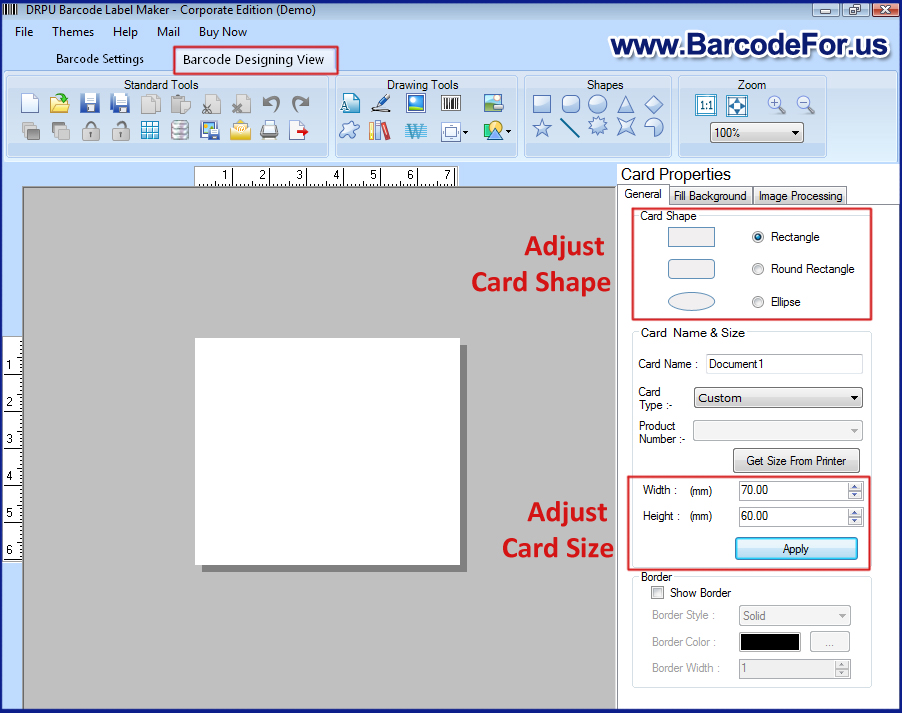
Step 2: Now run DRPU Barcode Software for Post Office and Banks that provides two modes including Barcode Setting and Barcode Designing View mode to generate barcode labels. For demonstration purpose we are using Barcode Designing View mode to design barcode label as per industrial requirement. Adjust card size and select card shape using Card Properties as shown.
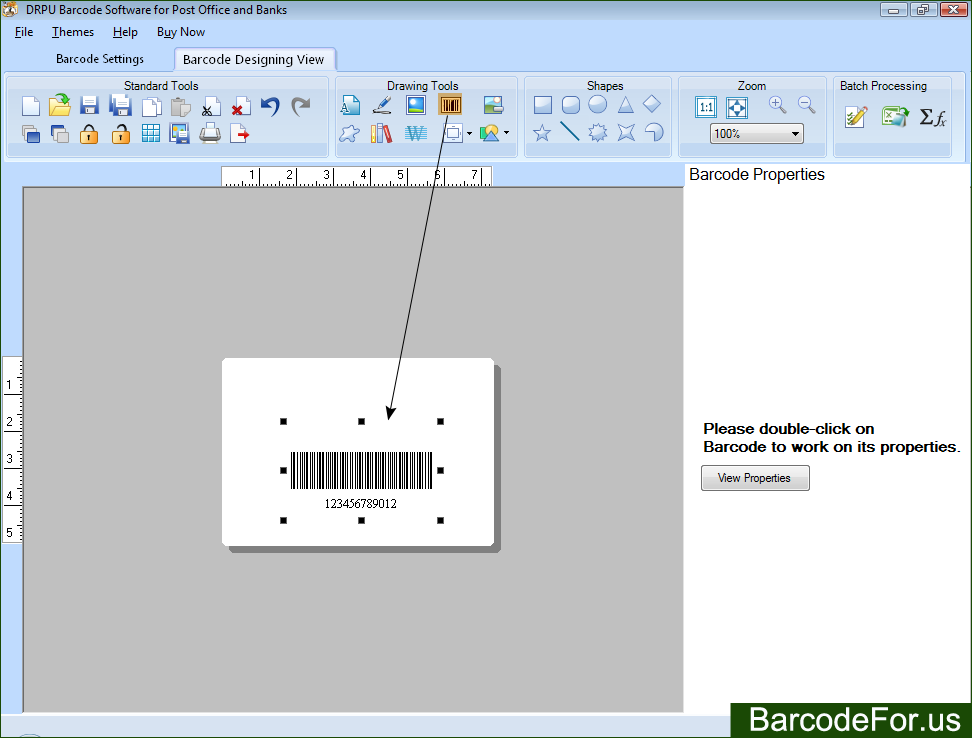
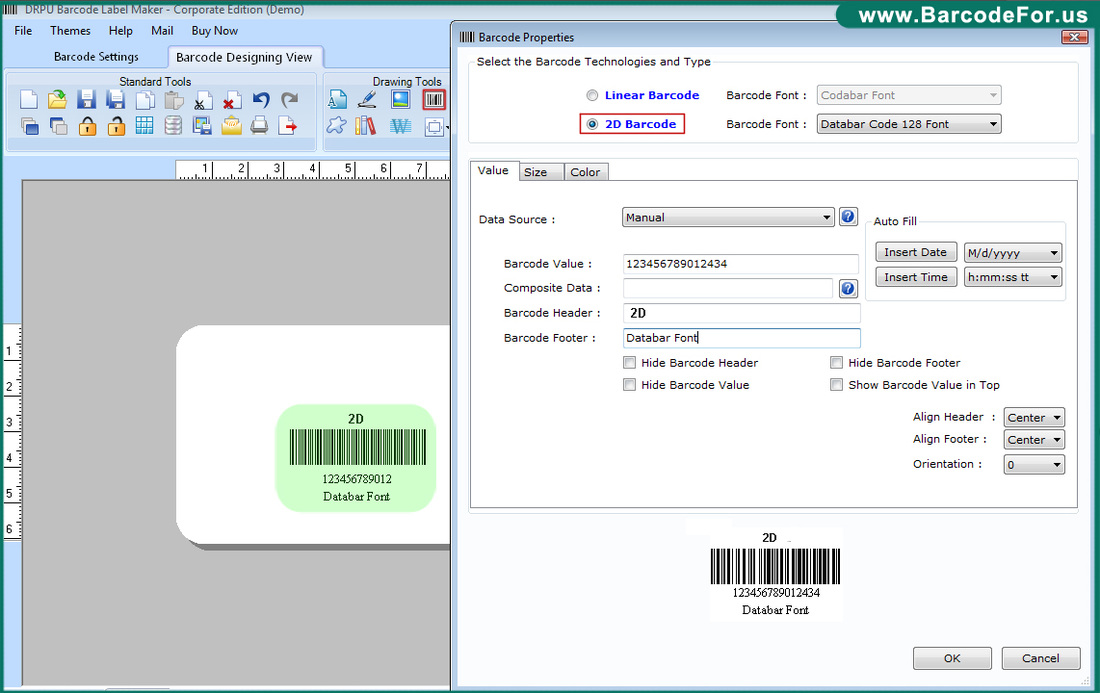
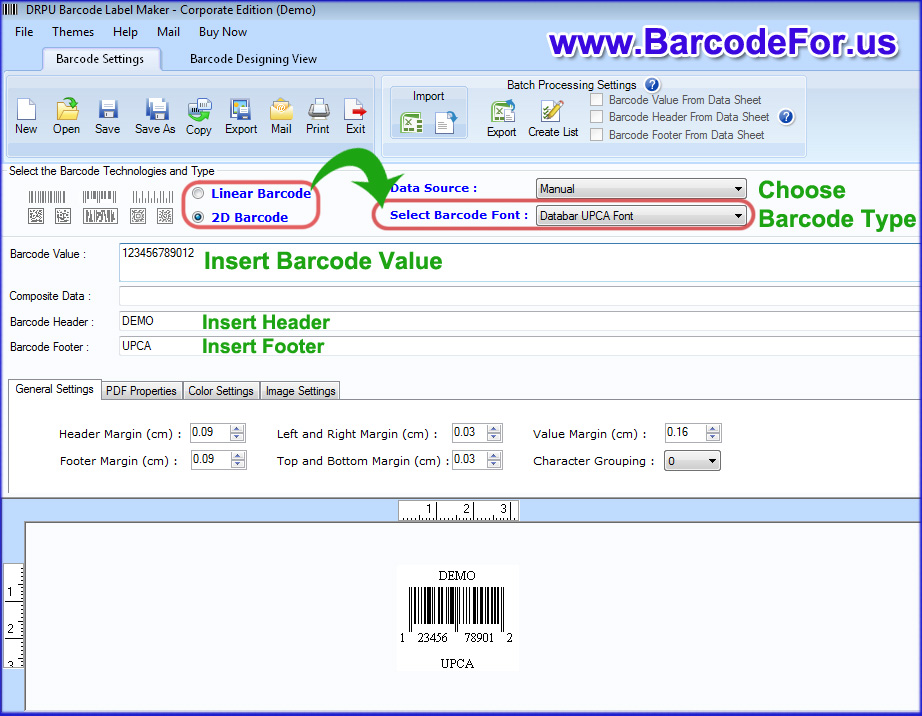
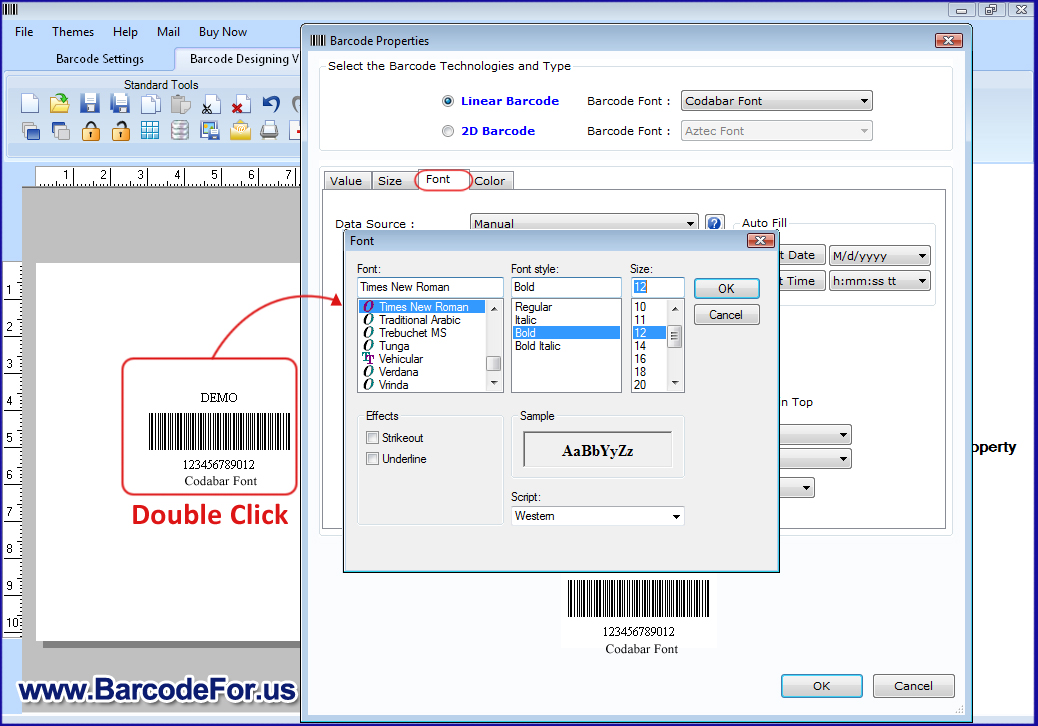
Step 3: Go to drawing tool and click on “Barcode” option to add barcode on label. Double-click on barcode to work on its properties or click on “View Properties” button.
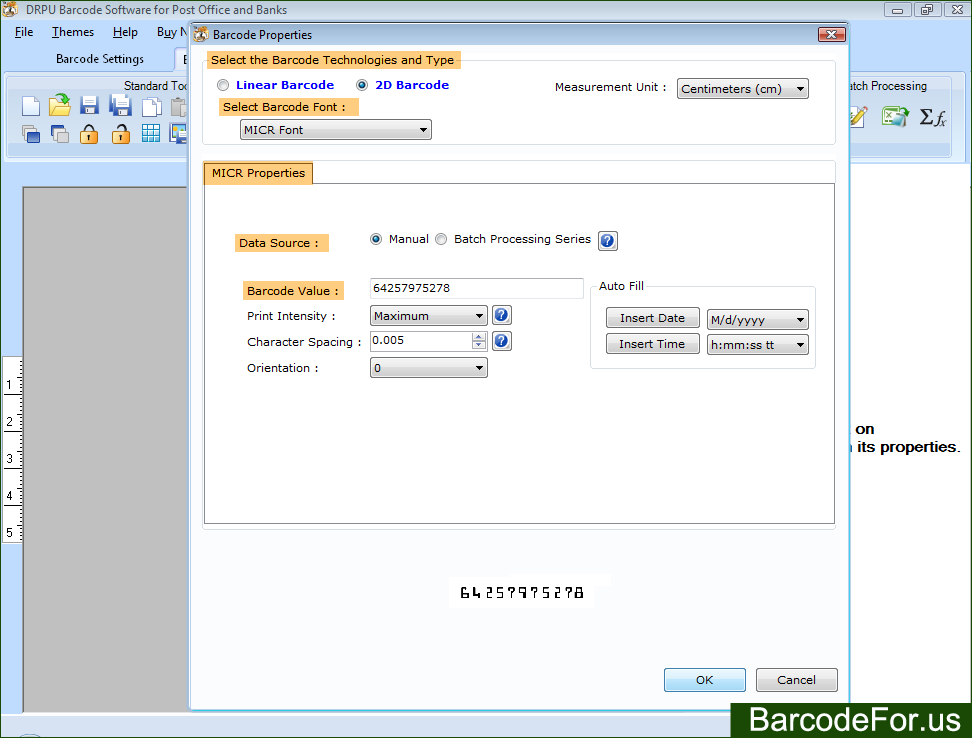
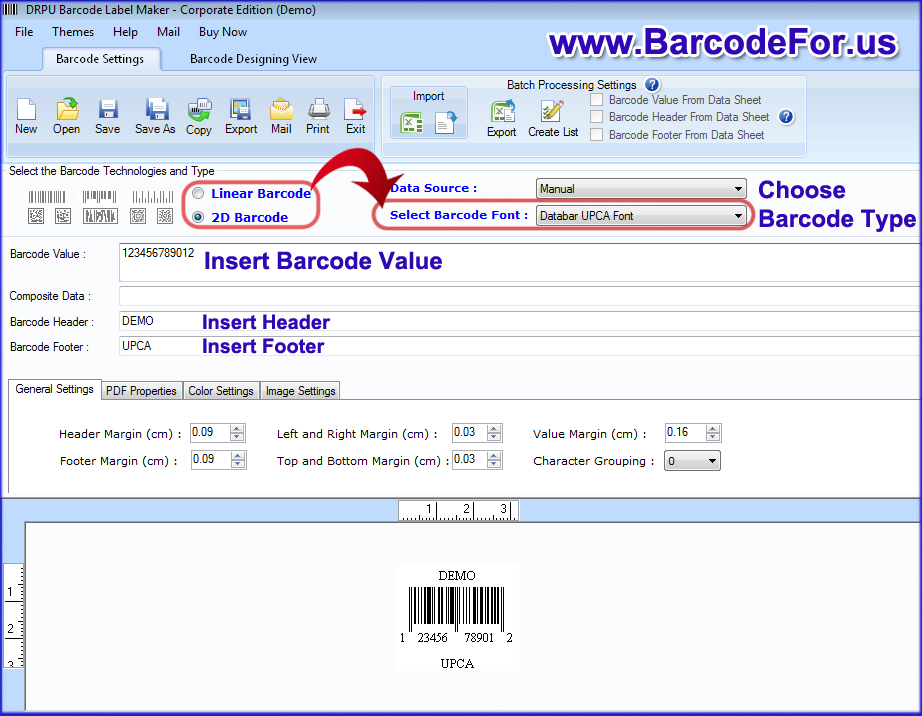
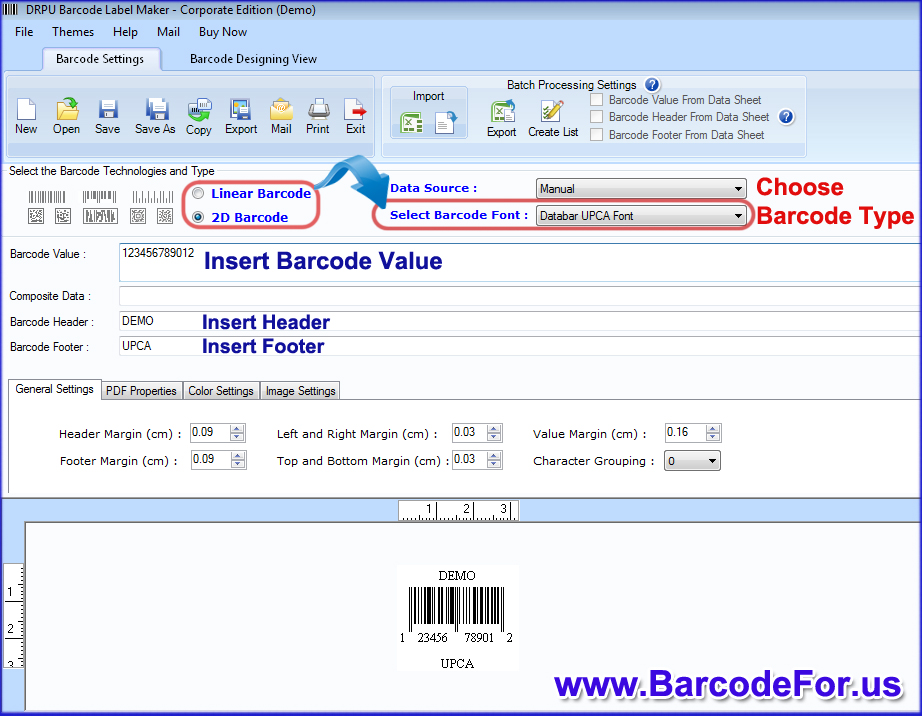
Step 4: Select 2D Barcode Technology and Barcode Font from drop-down list. Enter barcode value and change various setting including Print Intensity, Character Spacing and Orientation as per requirement and press OK button.
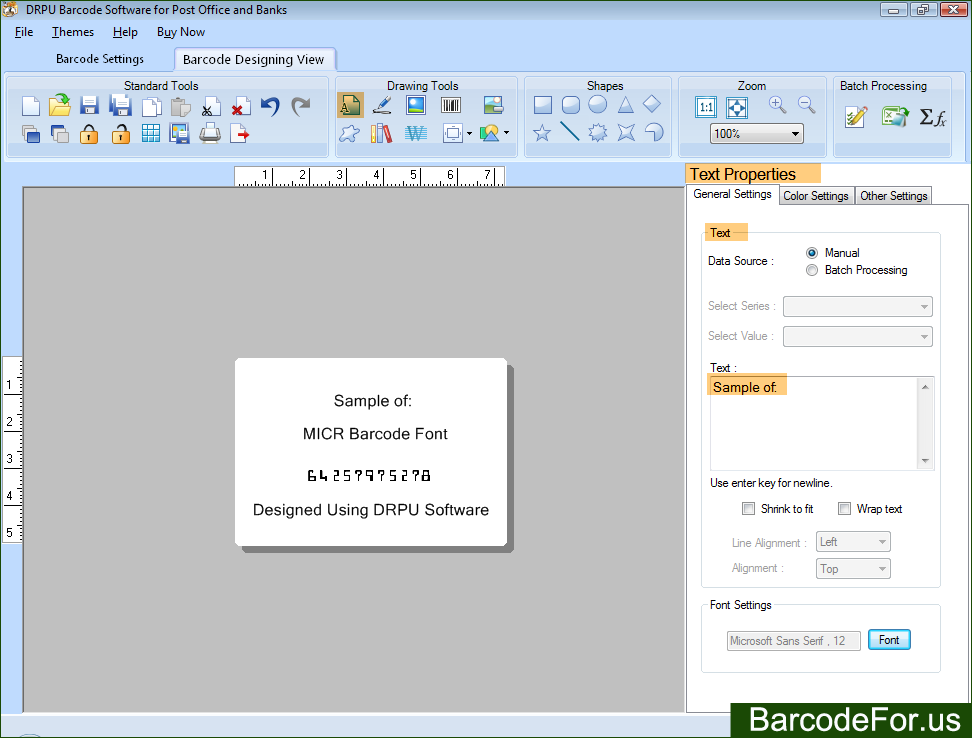
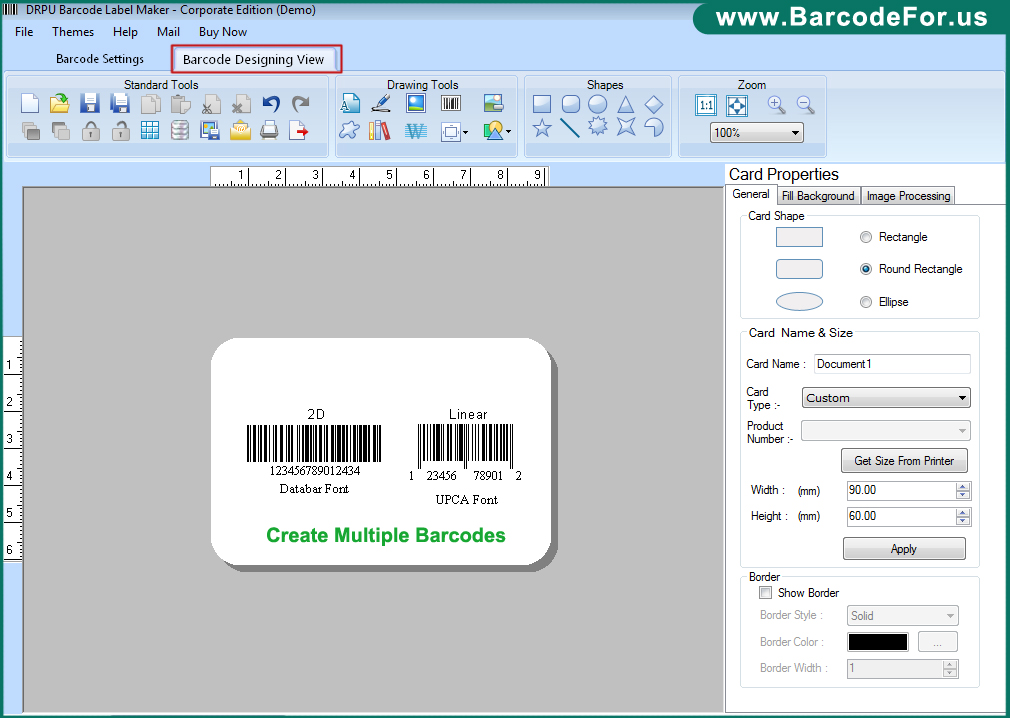
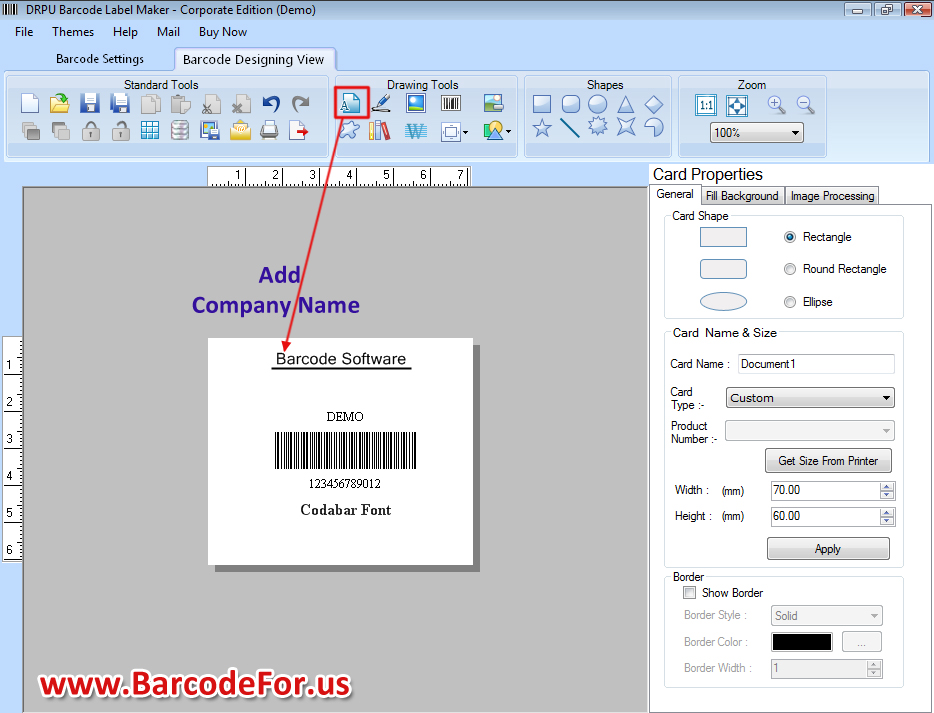
Step 5: Go to drawing tool to add text on barcode label using advance text properties as shown. You can add various drawing objects on barcode label including signature, picture, shape, watermark, card background etc. You can also add more than one barcode on label.
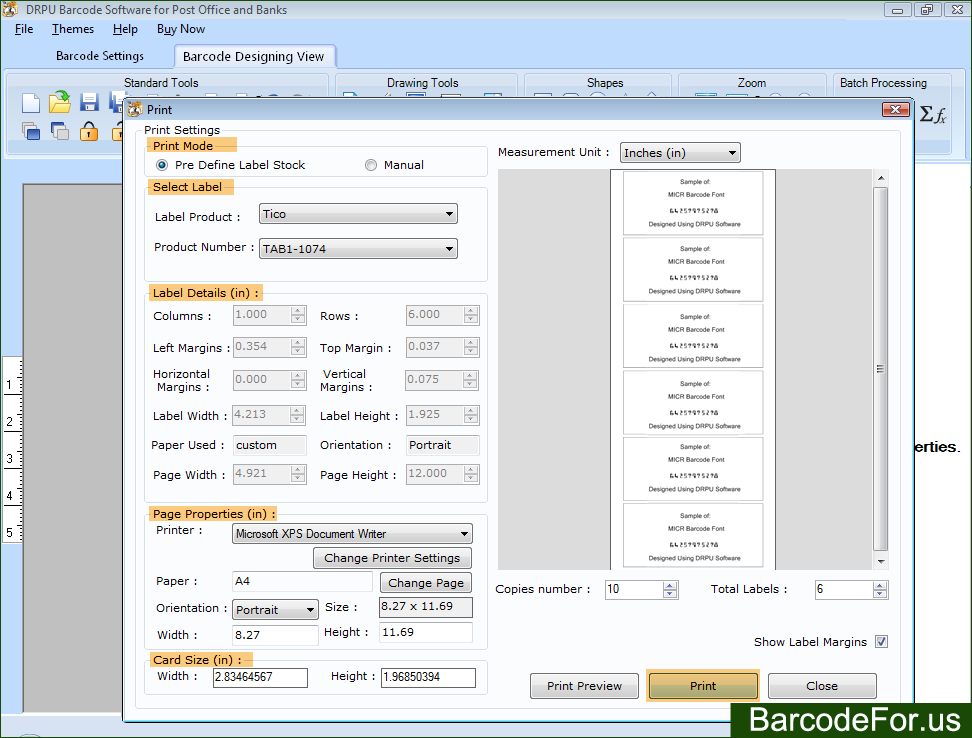
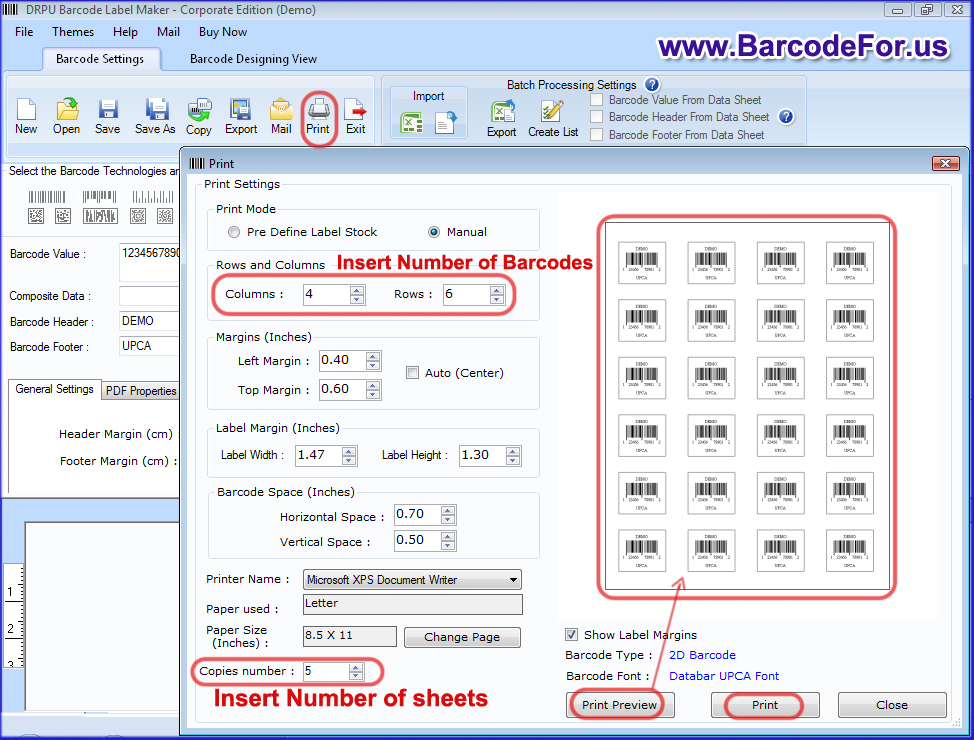
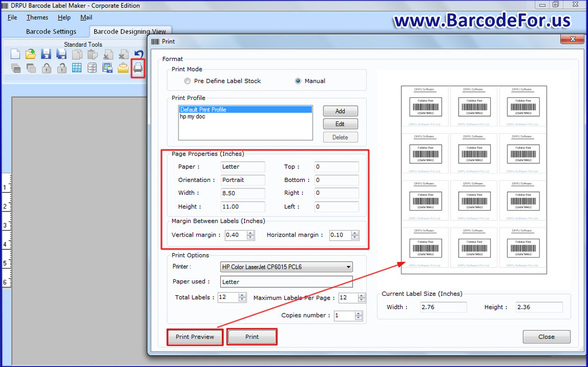
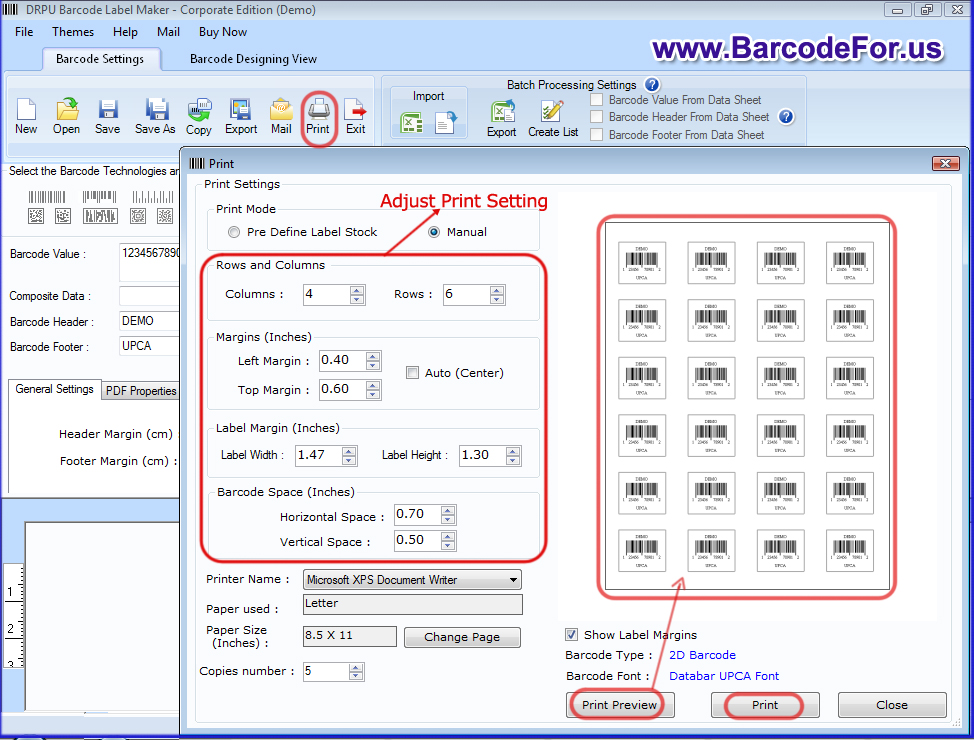
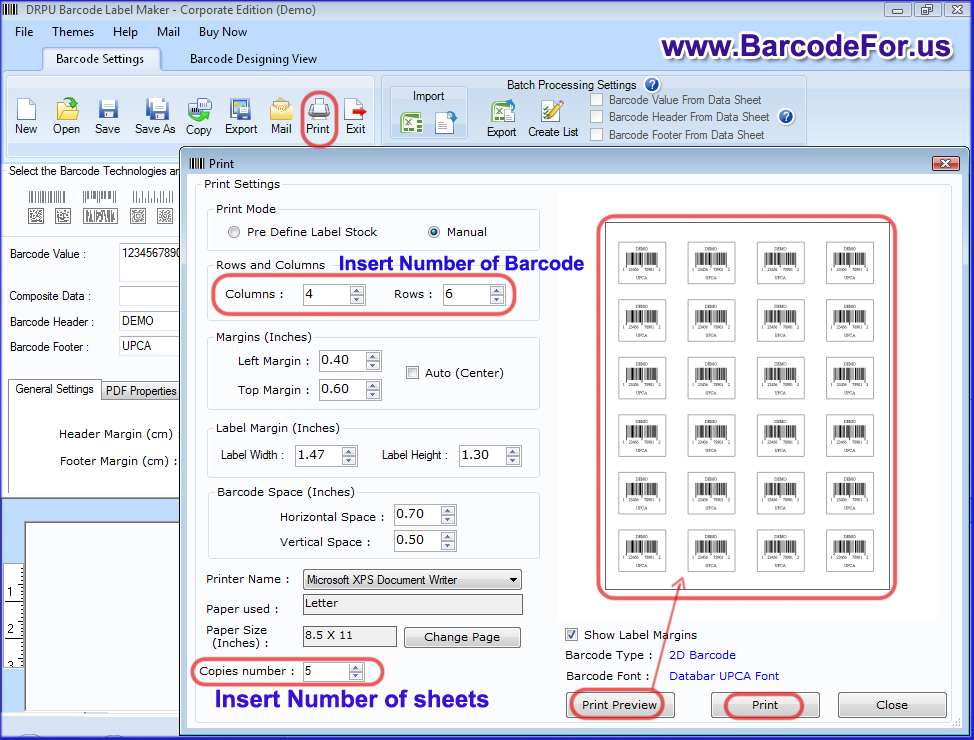
Step 6: For printing generated barcode label, go to standard tools and click on “Print” option. Software provides “Pre Define Label Stock” or “Manual” mode to set print setting according to different types of stationary papers or rolls. Adjust print setting as per in required manner and press Print button.
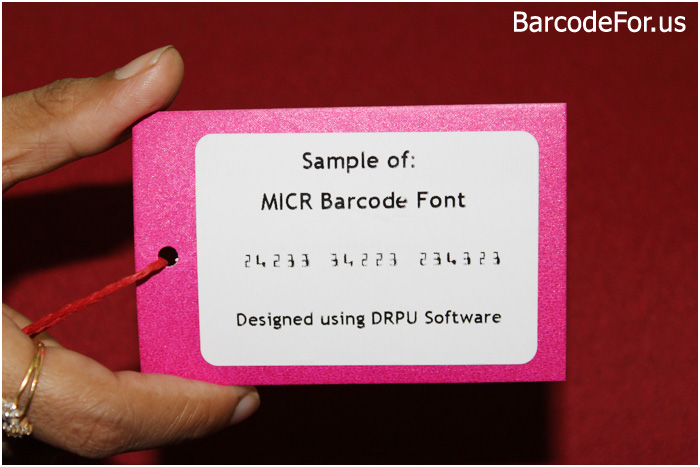
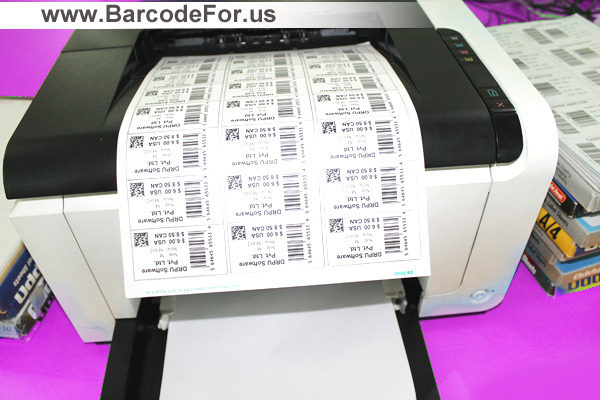
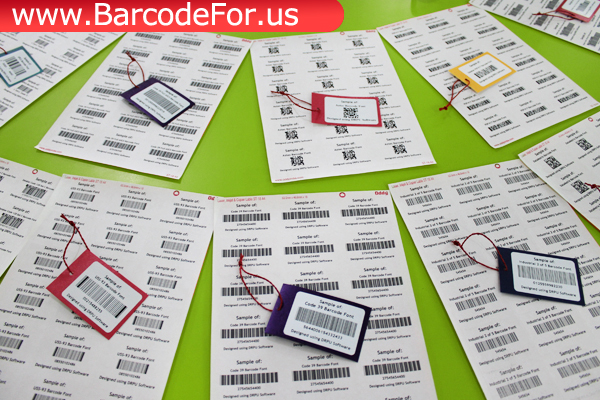
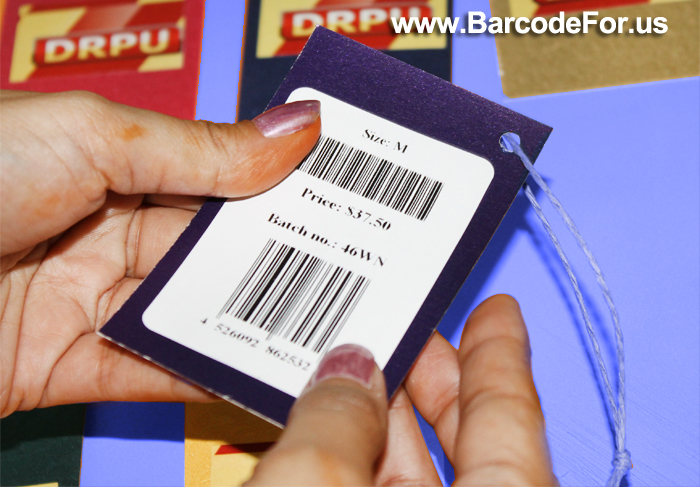
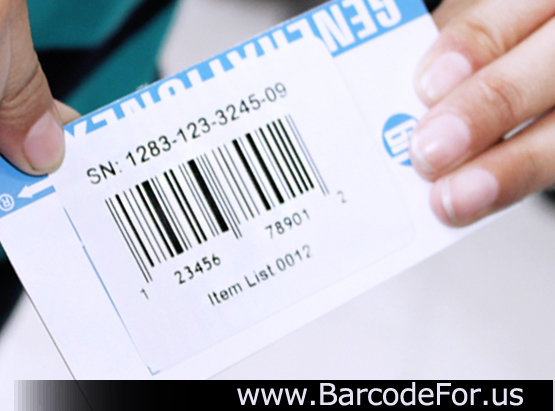
Step 7: Barcode label is ready to use.
Download Barcode Generator for Post Office


 RSS Feed